React App and GitHub Actions

From development to go-live in under 2 minutes
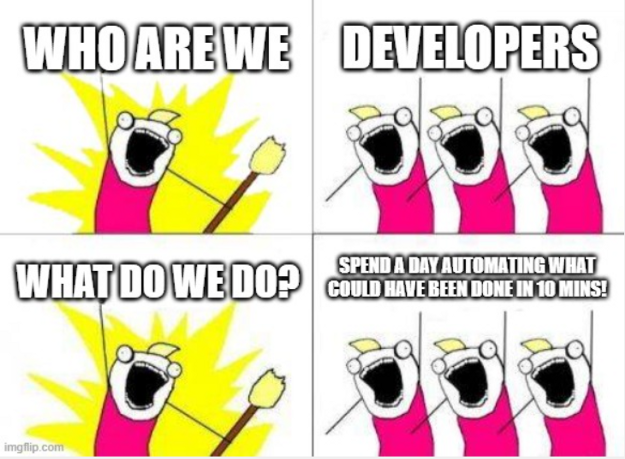
As developers, we are often guilty of doing this. The problem statement is simple:
I have a React application and want it deployed on GitHub Pages.
The simplest way to achieve this is to locally build it, and push the build directory to “gh-pages” branch and viola. Then I introduced Travis CI to achieve this and recently switched to GitHub Actions.
I have already spent more hours setting this up than I probably would have spent doing it manually, so let me first try to justify my actions:
- GitHub Action is a new kid in town, and as developers, it is our responsibility to become early (debatable at this point) adopters
- It has inherent support — I don’t have to share keys and secrets with another third party.
- It has a vibrant ecosystem that will only get better with time. For instance, it is just 2 lines to set up a Linux machine with NodeJs.
- As a corporate employee who used Jenkins, the setup process feels welcoming.
- It supports parallelly running multiple jobs! You can let everything run parallel, or create dependencies. It promises to be quite versatile.
Although my current problem statement does not require much of the aforementioned features, it is easier to get my hands dirty with a simpler project.
How to get started?
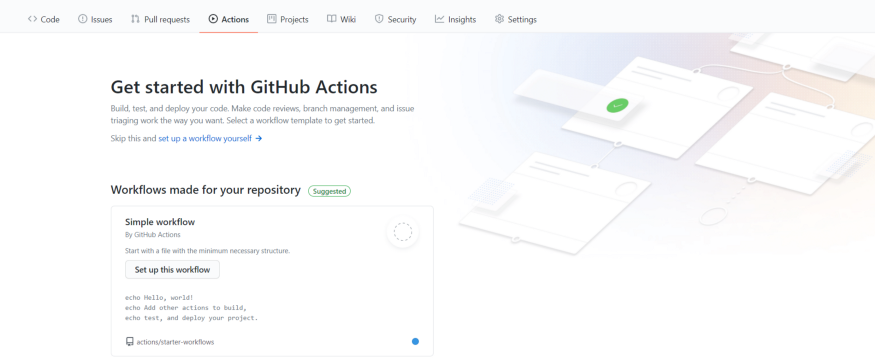
The simplest way to start a workflow is to go to the “Actions” tab on your repository and click “set up a workflow yourself”. This will create a file called main.yml with some basic workflow. There is a structure to this YAML file to understand which we need to understand the components of GitHub actions.
The Components of GitHub Actions
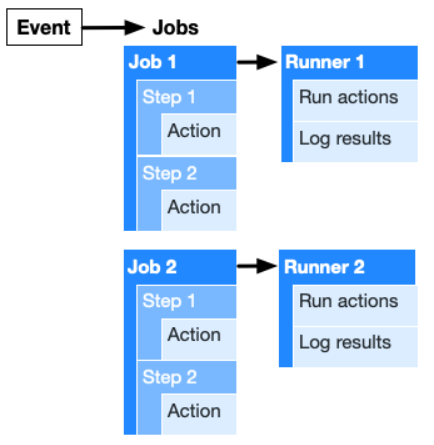 The Components of GitHub Actions, from GitHub Docs
GitHub events (push, pull requests, and so on) trigger one or more jobs. Each job is run on a server that is called Runner instance (Virtual machines or Docker instances). Each job comprises one or more steps and each step performs some actions, ranging from echo on a bash terminal to a complicated action developed by the GitHub community that does some heavy lifting. To know more about the components check out the official documentation.
Plan of Action
Now that we are equipped with the understanding of GitHub workflows, it is time to break our task at hand into smaller workable units.
We will be starting with a Ubuntu server, and get the latest NodeJS environment setup. We will have to check out the code and install dependencies. Then we can build and finally publish to GitHub Pages.
And at what point do I want to do this? To answer that, I need to talk briefly about the workflow I follow. I have a development branch on which I work. I make frequent commits and often I do not want to publish changes after each commit. Once I feel I have reached a stable point, I create a pull request on the master branch (this repository existed before they renamed master to main). So I want my action to kick in at a push on master. Note that if I trigger it on pull-request, it will be triggered when the request is created, and I want it to trigger after it is merged. If you have multiple developers, you’ll need to control who can commit on master/main directly.
Code of Action
name: build_deploy CI

on:
  push:
    branches: [ master ]

jobs:
  build:
    runs-on: ubuntu-latest

    steps:
      - uses: actions/checkout@v2

      - name: Use Node.js ${{ matrix.node-version }}
        uses: actions/setup-node@v1
        with:
          node-version: '12.x'

      - name: Install dependencies
        run: yarn --frozen-lockfile

      - name: Build
        run: yarn run build

      - name: Deploy
        uses: peaceiris/actions-gh-pages@v3.7.3
        with:
          github_token: ${{ secrets.GITHUB_TOKEN }}
          publish_dir: ./build
          cname: <domain_name>
          enable_jekyll: false
          user_name: 'github-actions[bot]'
          user_email: 'github-actions[bot]@users.noreply.github.com'
Let us go over the steps.
- The action has a name!
- We run it on a push to master.
- The job uses a Ubuntu server
- Check out code
- Setup NodeJS environment. We can specify the version(s), and yarn comes preinstalled.
- We install the dependencies and ensure the lock file is not changed in the process.
- We create an optimized production build.
- We use an action from the GitHub community to push the changes to the specific branch. We can make customization by setting certain parameters. (Since I have a custom domain, I set that here with cname.)
And that is all. You are all set to harness the goodness of GitHub Actions!
The results
Apart from this, I have another action that runs the build job on every push to development branch. This ensures I am not breaking anything that will prevent the build when I merge a pull request. Here is how it looks on my repository:
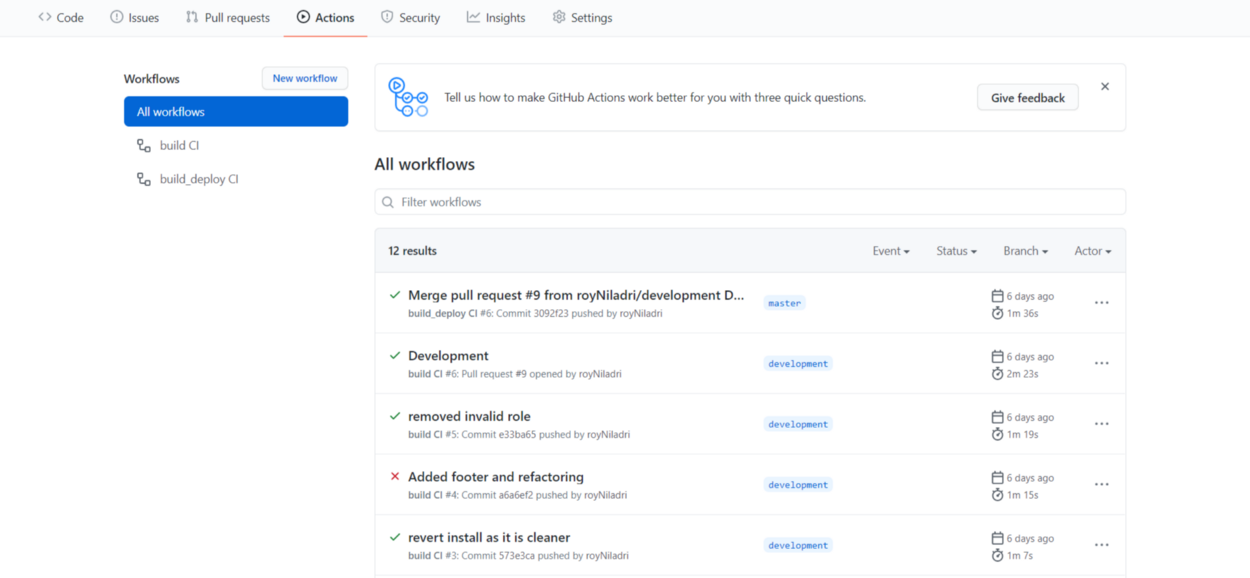 GitHub Actions in action, Niladri Roy
The failing build on my development branch helped me correct my mistake and once that started passing, I opened a pull request and merged it. This triggered the “_builddeploy CI” workflow, deploying my changes to my website, all in about a minute and a half! How cool is that?