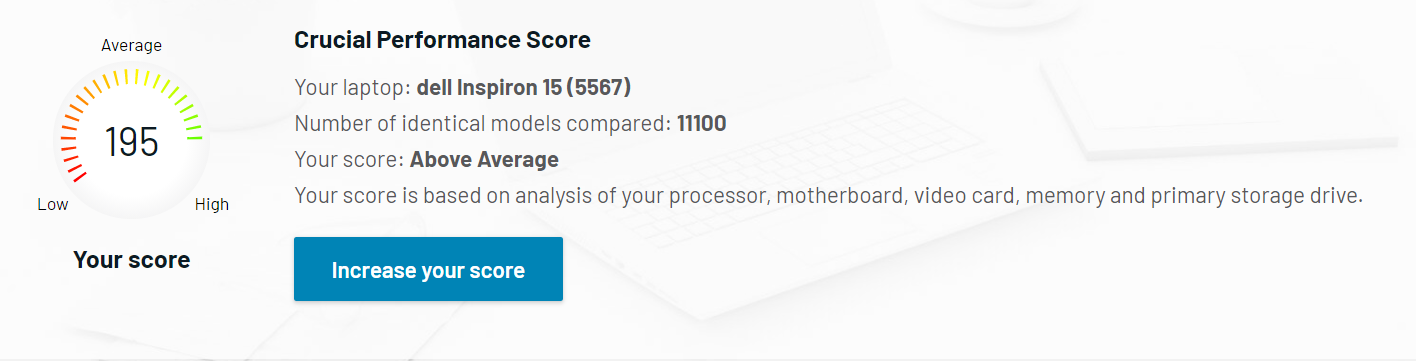
I have a 3-year-old Dell Inspiron laptop with 16 GB DDR4 RAM, Intel Core i7 7500 processor (7th Gen), 4GB Radeon R7 M445 graphics processor, and 2TB Seagate HDD. I have a Windows 10/Kubuntu dual boot. And for the past couple of months, it had been painfully slow to start and often froze when running a bunch of chrome tabs, or a large project on Visual Studio Code. While a simple solution was to go ahead and get a new laptop with a little higher configuration, it was an expensive solution. My system is definitely not archaic and I hoped there should be some simple upgrade I can do.
Figuring out the problem
I started checking my system whenever it froze. I always had the Task Manager running. The RAM was barely a problem. CPU peaked from time to time when I had too much going on in my system. The only anomaly seemed to be the disk, which was almost always 100% utilized. While I do have Macafee running, I left my system open overnight for a manual scan. As expected, there were no threats found. My spouse has a new HP laptop with i7 9th Gen, 16 GB DDR4 RAM, and 1 TB SSD which loads up in under 10s! So maybe changing that would help.
Getting the supplies
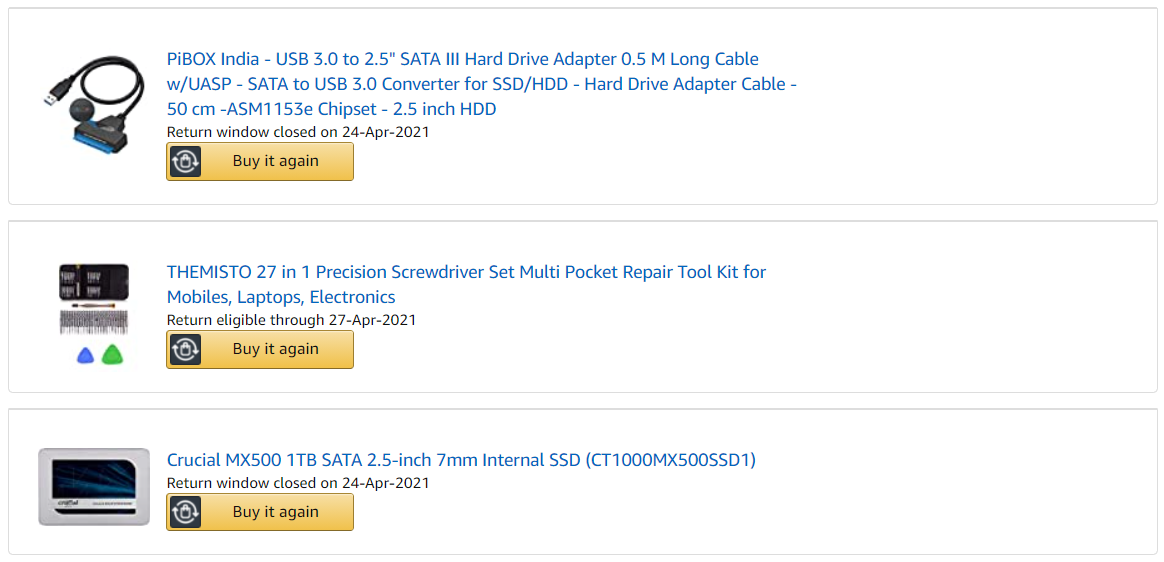
Time to hit Amazon. As I am not very knowledgeable about hardware, I had to depend on the ratings and chose Crucial MX500 1TB SSD (~$130). I checked out the 2TB version, but it was way too expensive, about double the 1TB one. I was using about 1TB of storage on my system, but I moved my camera backups and downloaded movies and series to my external HDD. Next, I needed a SATA to USB3 connector to clone my existing disk, and a precision toolkit to dismantle the laptop. It all took me about INR 10,000 (~$135).
Compatibility
There are a few types of SSD available with different form factors and connectivity options. Before you head out to purchase, just check for compatibility. You'll most likely need a 2.5" SATA device, but you can ensure that here Crucial Advisor.
Cloning the disk
I used Acronis True Image to clone my disk. I used the SATA to USB3 connector to hook it up with my system. If you have both USB2 and USB3 ports on your system, ensure to plug it in the USB3 port. The good thing about this is it can clone a larger disk into a smaller SSD as long as the data is less than the SSD capacity. You can map partitions proportional to the existing one (600 GB partition on HDD will get mapped to 300 GB partition in my case), or manually adjust the space. It takes quite a while to do it and might restart the system.
Swapping the disks
Now is the time to awaken the little hunter-gatherer part of you and get the tools! It is a good idea to go through a video that describes how to open your specific model, but I would list down the steps that I followed.
- Unscrew all the screws on the back of the laptop. Keep a track of which screw goes back where. Not all screws are made equal!
- If you have an optical drive, pull it open, and unscrew any screws there.
- The trickiest part is to pry open the front panel. If the back lid comes off after unscrewing, you will not need this step.
- Ground yourself. This is a very important step.
- It is recommended to disconnect the battery. (I did not do it because it would have required some more unscrewing.)
- Unscrew the HDD and then remove any other brackets/cradle holding it.
- Disconnect the SATA cable. It might be fixed tightly, so pull it by the plastic end. If you tug at the flat cable, it might tear off from the connecter (I almost did that! It was scary)
- Now keep the HDD aside, and assemble the SSD with the aforementioned brackets/cradle.
- Connect back the SATA cable, and screw it back to the board.
- If you had disconnected the battery, connect it back now.
- Clip back the front panel (if you had to do step 3)
- Put back the optical drive.
- Screw all the screws back.
On powering on, you should see the familiar Windows welcome screen!
Problems with Dual-boot setup
I first logged into my Ubuntu instance, and everything was working smoothly. But when I tried to get into my Windows, I started getting errors. I did not have a USB installer to fix it. After panicking for a while, I decided to dive into it deeper and opened the console in the UEFI loader (type c when on the loader screen)! I did a ls and found the different partitions with their details. Took a picture of that on my phone. Next, I checked the Kubuntu loader script (type e on the loader screen when that option is highlighted`). It was searching for something by UUID, and I had seen the same when listing partitions. So I made a note of the UUID from Ubuntu and patched the Windows script with the same. Alas, that did not fix it!
Next, I took a look at both the scripts and found that Windows was looking for a FAT32 partition. On referencing the partition list, I found one! I went ahead and put that in, and viola, my Windows was loading. It was a short-lived victory, as when I tried to restart, the change was dropped, and I had to manually change that again. So at this point, I could get into the Windows, but something was still wrong with the loader.
I tried a couple of utilities from the internet, but nothing solved the problem. I tried windows recovery, and that did not work either. I tried to solve the same from Ubuntu, but still the same. Finally, I got a way to get all the list of UEFI loaders and deleted everything apart from the Ubuntu. Weirdly enough, that fixed it!
Results
Due to my dual boot setup, I had to disable "fast startup". My system now loads in ~25 s, and is responsive from the instance I am logged in. Earlier this used to take ~3 min and even after logging in I would have to wait for about 5 min for the system to be responsive.
⚠ Disclaimer
If you are not well versed with laptop hardware or not comfortable with the terminal, you should avoid doing this yourself without supervision. Always backup your important files before tinkering with the system.