


Welcome to the series. Today I will introduce you to the stack that we are going to use and set up accounts. We will be installing Jenkins and setting up a small backend project to demonstrate the build pipeline. To mock most corporate environments, I will be using Ubuntu 18.04 (Linux) as the working operating system. You can either have that as a dual boot alongside your windows or use a Virtual Machine.
Step 1: Install Jenkins
The official guide provides detailed instructions on how to set it up on different environments. If you have any other Operating system, check out this installation guide
wget -q -O - https://pkg.jenkins.io/debian-stable/jenkins.io.key | sudo apt-key add -
sudo sh -c 'echo deb https://pkg.jenkins.io/debian-stable binary/ > \
    /etc/apt/sources.list.d/jenkins.list'
sudo apt-get update
sudo apt-get install jenkins
Note that to start Jenkins we need Java 8. If you do not have Java 8 or have a different version, you might see an error like this:
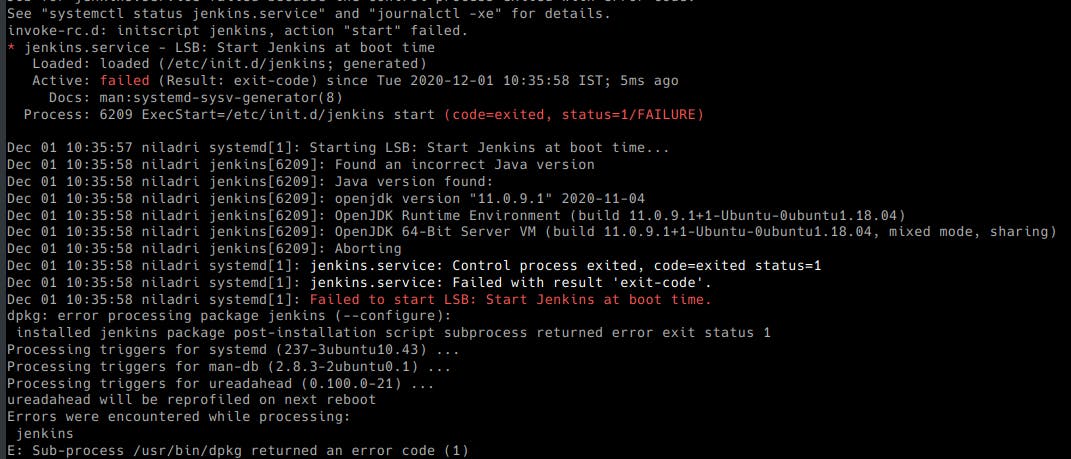 This can be easily rectified by installing the required version as such:
sudo apt install openjdk-8-jdk
and then installing Jenkins as before.
If all works fine, you will not see any errors and will be able to open the Jenkins admin screen on http://localhost:8080/. The password can be found in the file /var/lib/jenkins/secrets/initialAdminPassword.
Installing Plugins
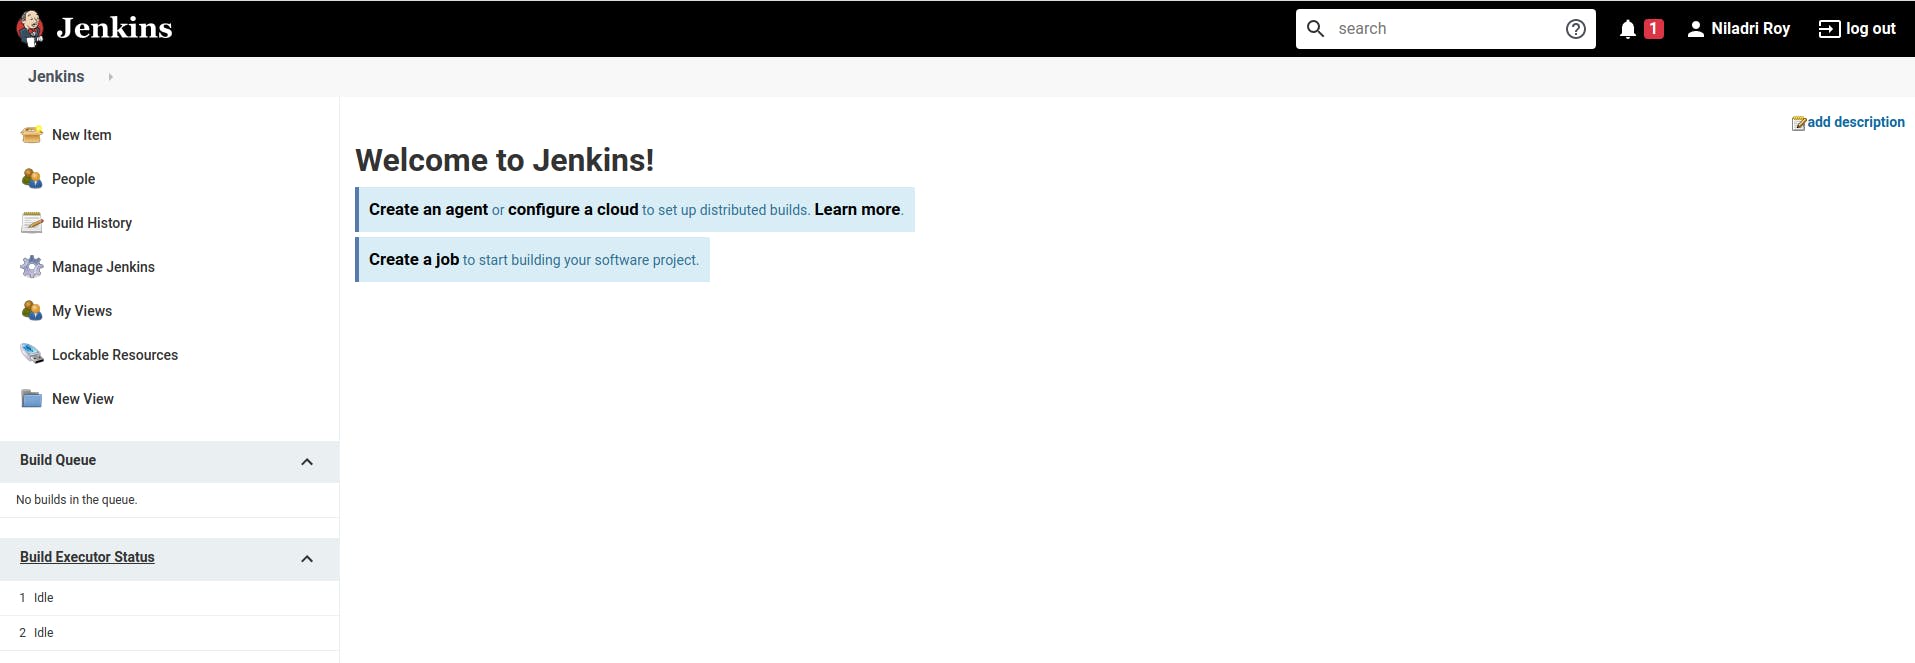
This is the screen you get when you log in:

Now we have to start customizing Jenkins. We will start with the recommended set of plugins. There are quite a few plugins and this step might take a while to finish.
Once that is done, it will ask for creating an Admin User.
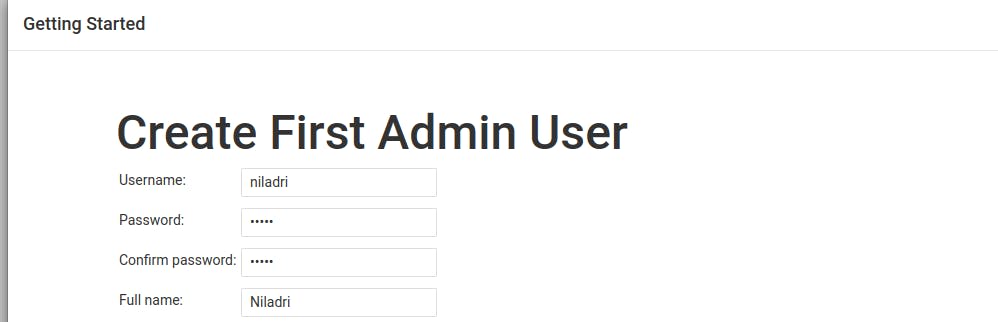 For privacy concerns, I have not added the email field in the screenshot. Finally, you'll be taken to the Jenkins dashboard
Time to land on the dashboard!
Setting up BitBucket and Jira
We will be using BitBucket as the source code management tool. It uses it as the versioning tool. For Scrum and issue tracking, we will be using Jira. Note that both of these have free versions and have enough features for our simple use case.
Once logged in to BitBucket, create a workspace, then a project inside that workspace, and two repositories under the project. My repositories can be found at Server and UI App
Linking Jira project to Bitbucket project
The first step is to link the workspace. Once done, we can follow along with the onscreen guide to add the relevant repositories.
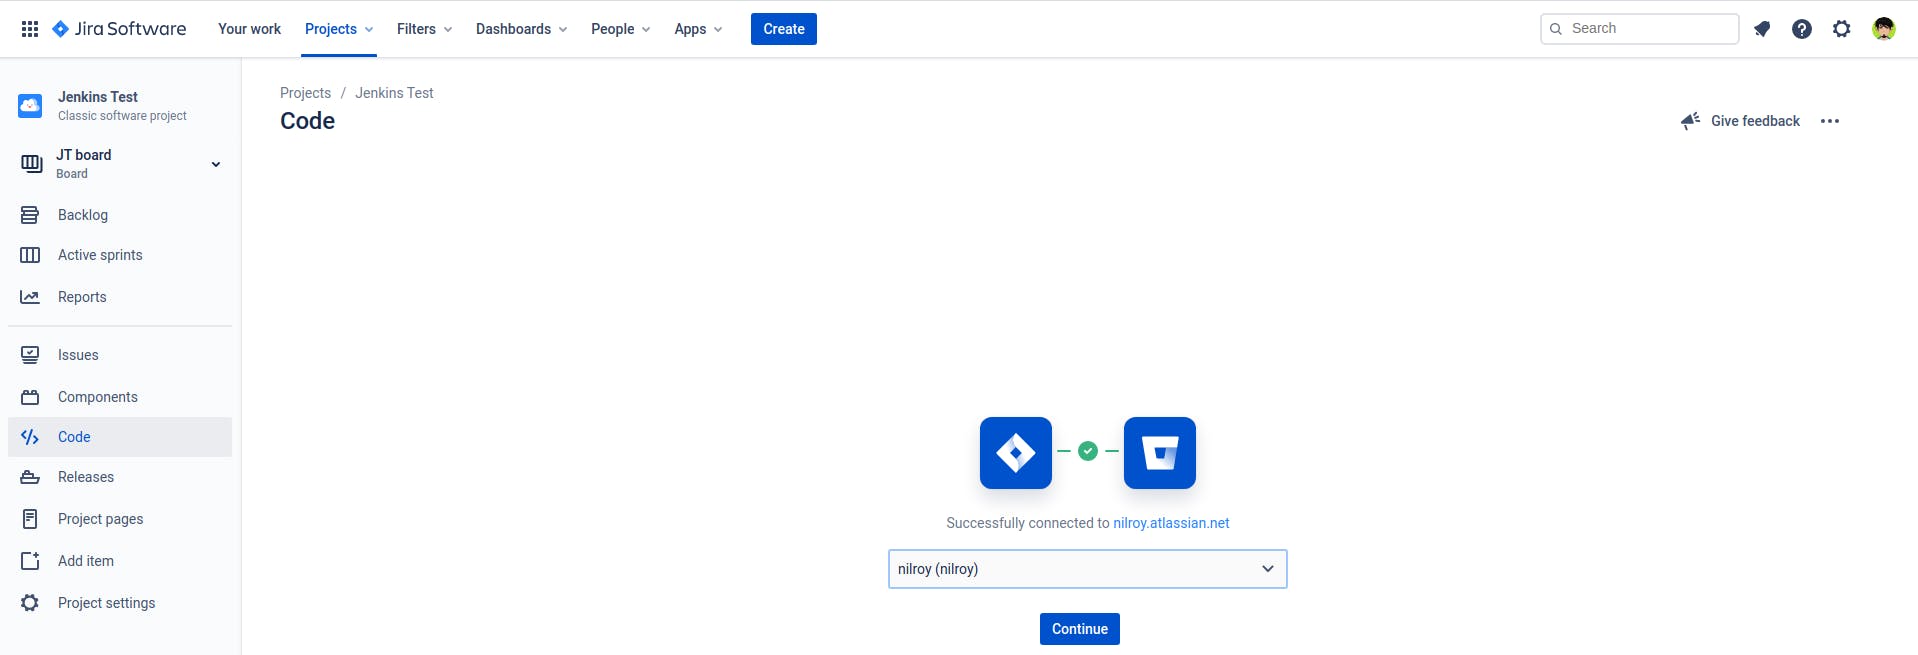
Ideally, you should see the list of repositories to choose from in Jira itself. For me, that was not the case. So I went back to BitBucket and selected the repository, and navigated to the Jira tab.
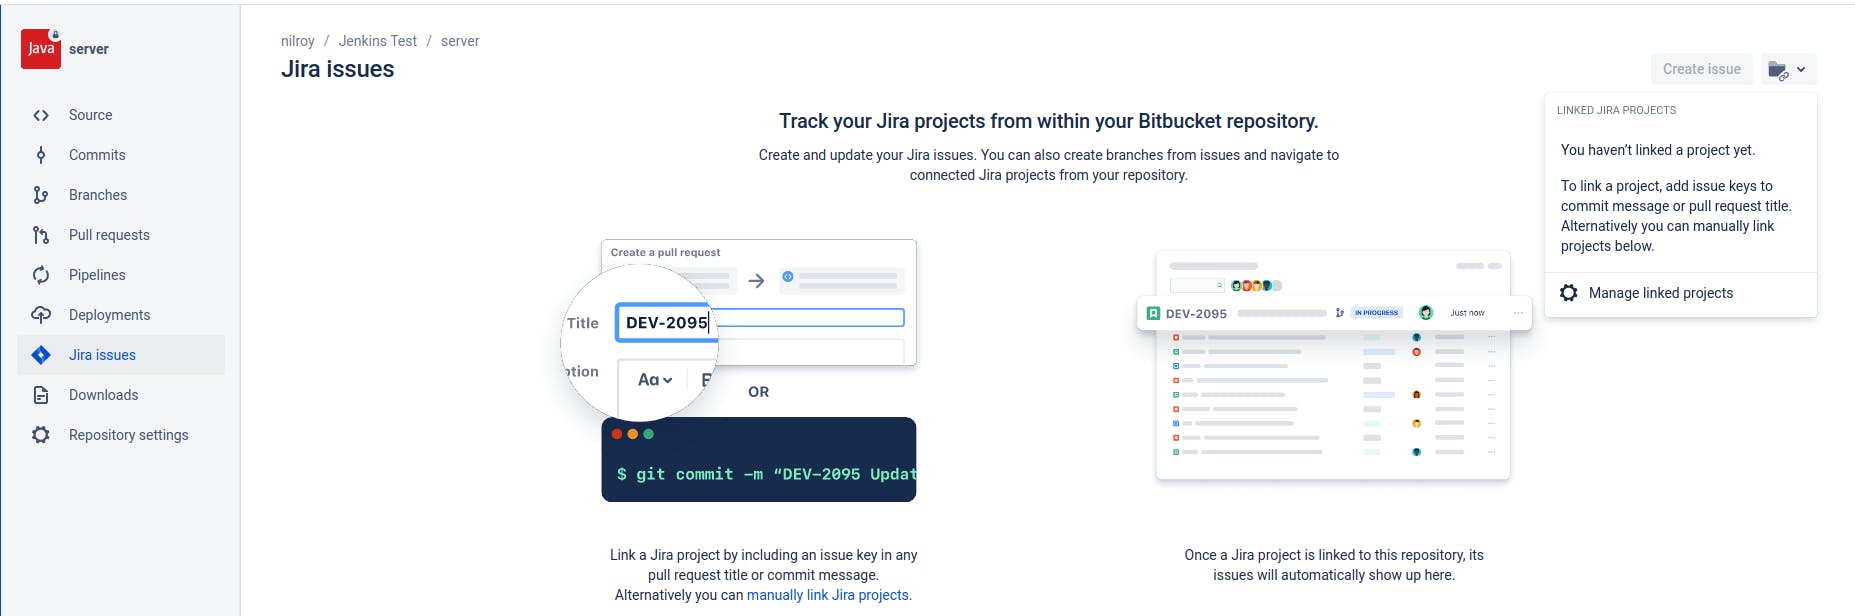
Click on "Manage Linked projects" on the right top corner.
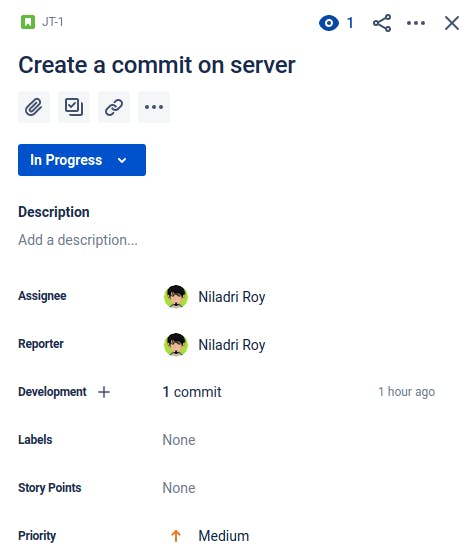
Creating Issues and View in Jira
We can go to the backlog and create Issues (Stories or bugs). If you make a commit with the issue number, we will be able to see the same on Jira.
First Job
Time to set up our first Jenkins job. In this step, we just want to get the contents of the repository in the workspace. Since this step interacts with git, it is crucial that you have git preinstalled on the machine.
sudo apt-get install git
Let's start by creating a Pipeline job:
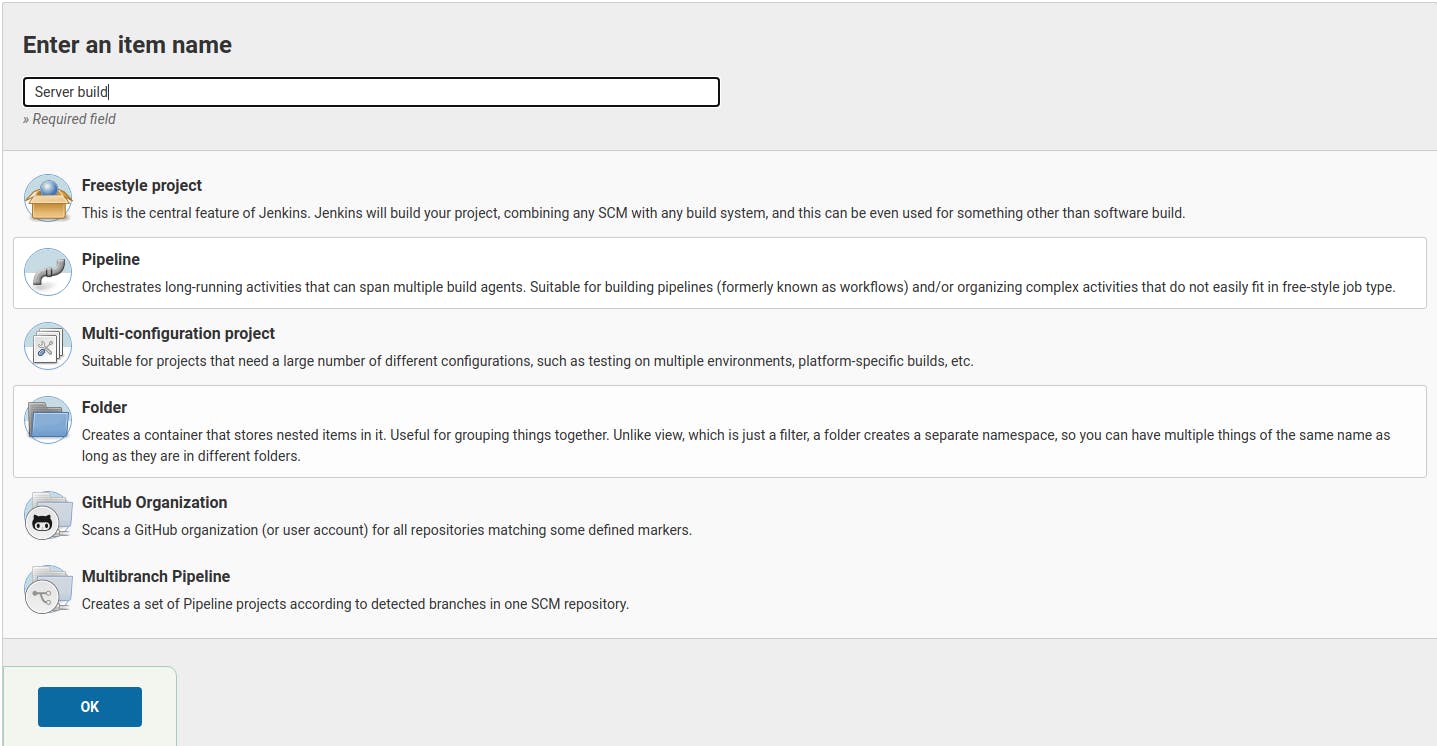
For the time being, we will jump down to the bottom and click on "Try Sample Pipeline" under Pipeline. We will remove all the unnecessary steps (as of now), and click on the Pipeline Syntax link.
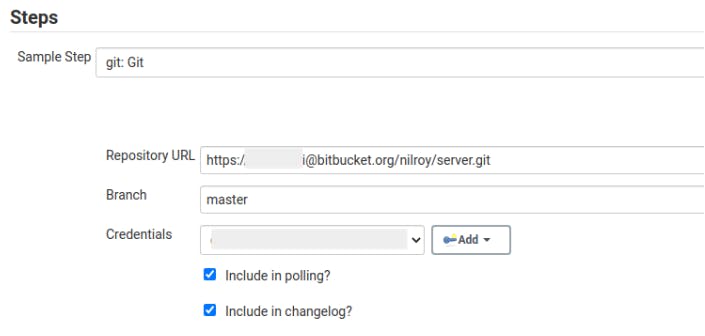 You have to add a credential if one does not exist to access the repository.
From here you can generate the line to copy and add it. The final pipeline should something like this:
You have to add a credential if one does not exist to access the repository.
From here you can generate the line to copy and add it. The final pipeline should something like this:
pipeline {
        agent any

        stages {
            stage('Build') {
                steps {
                    // Get some code from a GitHub repository
                    git credentialsId: 'xxxx-xxx-xxx-xxxx', url: 'https://<username>@bitbucket.org/nilroy/server.git'
                }
            }
        }
    }
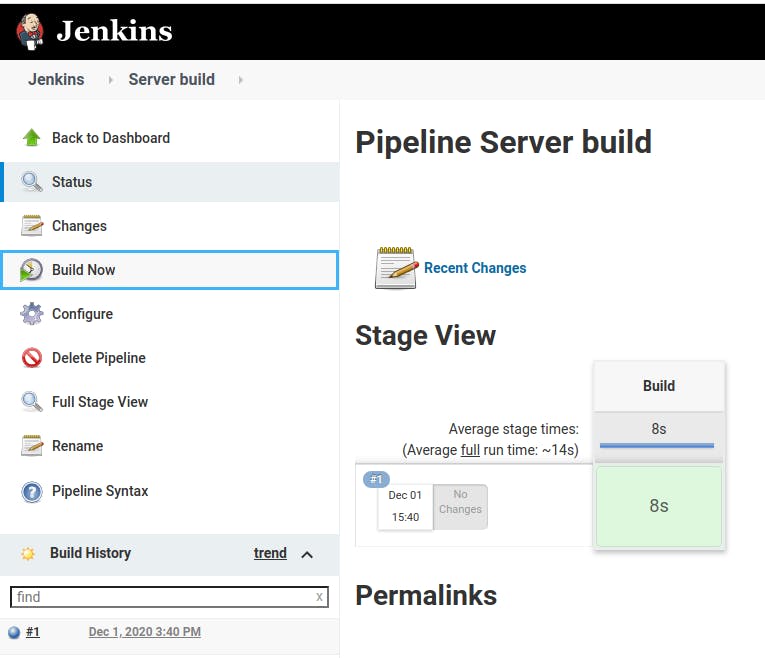
Let us save this and try to build the job by clicking build now. Lo and behold, our job works:
Basic server code
As a simple example, I have created a maven project and added a class fine and a test file.
public class Person {
    private String firstName;
    private String lastName;

    Person(String fn, String ln){
        this.firstName = fn;
        this.lastName = ln;
    }

    public String getFullName(){
        return this.firstName+" "+this.lastName;
    }
}
import org.junit.Assert;
import org.junit.Test;

public class PersonTest {
    @Test
    public void testFullName(){
        Person nilroy = new Person("Niladri", "Roy");
        Assert.assertEquals("Niladri Roy", "Niladri Roy");
    }
}
You can check if everything is working as expected by running a clean install and a test using mvn. Again if you do not have maven in your local system (or Virtual machine), you can add it using sudo apt install maven.
Build and Test
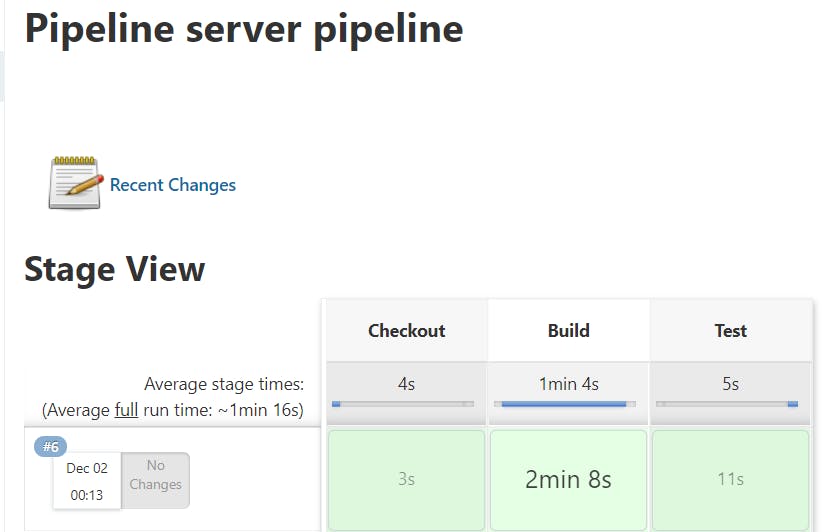
Time to add the last bits of our skeleton pipeline, a stage that builds and a stage that tests. The final pipeline should look like this, with a shell running the maven for us:
pipeline {
        agent any

        stages {
            stage('Checkout') {
                steps {
                    // Get some code from a GitHub repository
                    git credentialsId: 'xxxx-xxxx-xxxxx', url: 'https://<username>@bitbucket.org/nilroy/server.git'
                }
            }
            stage('Build'){
                steps {
                    sh 'mvn -DskipTests clean install'
                }
            }
            stage('Test'){
                steps {
                    sh 'mvn test'
                }
            }
        }
    }
We can now save it and run the job. If everything goes well, we will see a green field!
Why I used pipeline
There is an easier way to configure Jenkins had we chosen an empty project. But creating a pipeline has a couple of advantages.
- The results are much more clear and appealing
- The logs are chunked and we can focus on logs only when something fails.
- We are developers and prefer to type than click!
- You can easily set this up as a project file and version it.
This is just the tip of an iceberg, and we have a lot to cover ahead. Stay tuned. To keep getting notified when I post, follow me or subscribe to the newsletter!